

Filming and editing video courses on your own is a creative process that requires considerable time and effort, especially from beginners. But before you start video production, you need to prepare the course curriculum and acquire the necessary equipment. In this article, we share practical tips for creating video lessons on your own with minimal financial outlay.
Stage one — preparation
The most important and, perhaps, most time-consuming process is preparing to film video lessons. This stage involves preparing five main items:
- A script for the video;
- The room, background, and necessary props for filming;
- Lighting;
- The speaker's appearance and on-camera delivery technique;
- Materials for video editing.
Below we go into more detail on preparing the room, background, and lighting for the filming location.
Background. As a rule, educational courses are recorded against a neutral background, at a board, or at a desk. Whatever the background, try to leave space behind you — sit farther from the rear background, such as a wall, by about half a meter; otherwise the shot will look "flat."
Prepare all the items you will use and/or demonstrate during the lesson. They should be within reach.
Always "clean" the frame so extra objects do not distract the learner. For example, if you are recording a lesson at a desk, clear it of unnecessary items such as a photo frame, personal belongings, cosmetics, documents, stationery, and so on that will not be used or are unrelated to the topic of the video. All of this is "clutter" in the frame.
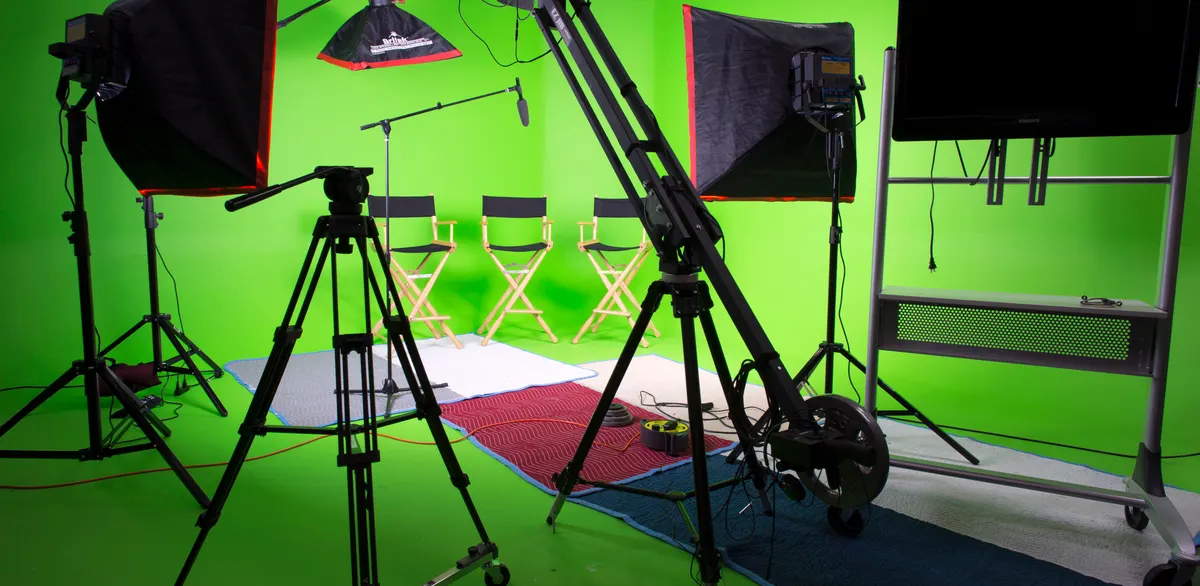
Lighting. With good lighting, filming even on a budget camera or phone will look significantly better. For what lighting equipment you may need, see our article: Online course: film it yourself or hire professionals. There are three important rules for lighting a filming location:
Natural light. It is preferable to film during daylight hours so the room has natural sunlight. It is best if light falls at a 45-degree angle, or directly on the speaker's face. If the sun shines at 90 degrees and illuminates only one side of the face, the other side will remain in shadow.
It is undesirable to film against a window during the day if you do not have a professional camera capable of neutralizing bright sunlight. Otherwise the frame will have "blown highlights" — a bright spot behind the speaker.
Natural light + lighting equipment
If you are filming near a window, you need to light the other side of the face that remained in shadow. Place a light source to the side of the camera to illuminate the other side of the face.
Two- or three-point lighting with equipment
A more professional yet still affordable approach is to buy and use two or three light sources to illuminate the speaker.
Place the first and main light source to the side of the camera, which you position opposite the speaker. But this light should not shine directly into the speaker's eyes. Therefore, it is important to place the light not directly opposite, but slightly to the side of the camera.
Backlight. Place the second light source behind and slightly to the side of the speaker. Direct the light at the speaker's head, neck, and shoulders to create a rim light. This will separate the subject from the background and create professional lighting. Make sure the fixture is not visible in the frame.
A third light source can illuminate either the neutral background or objects on it, such as a bookshelf, plants, a painting, or any other object.
Stage two — filming
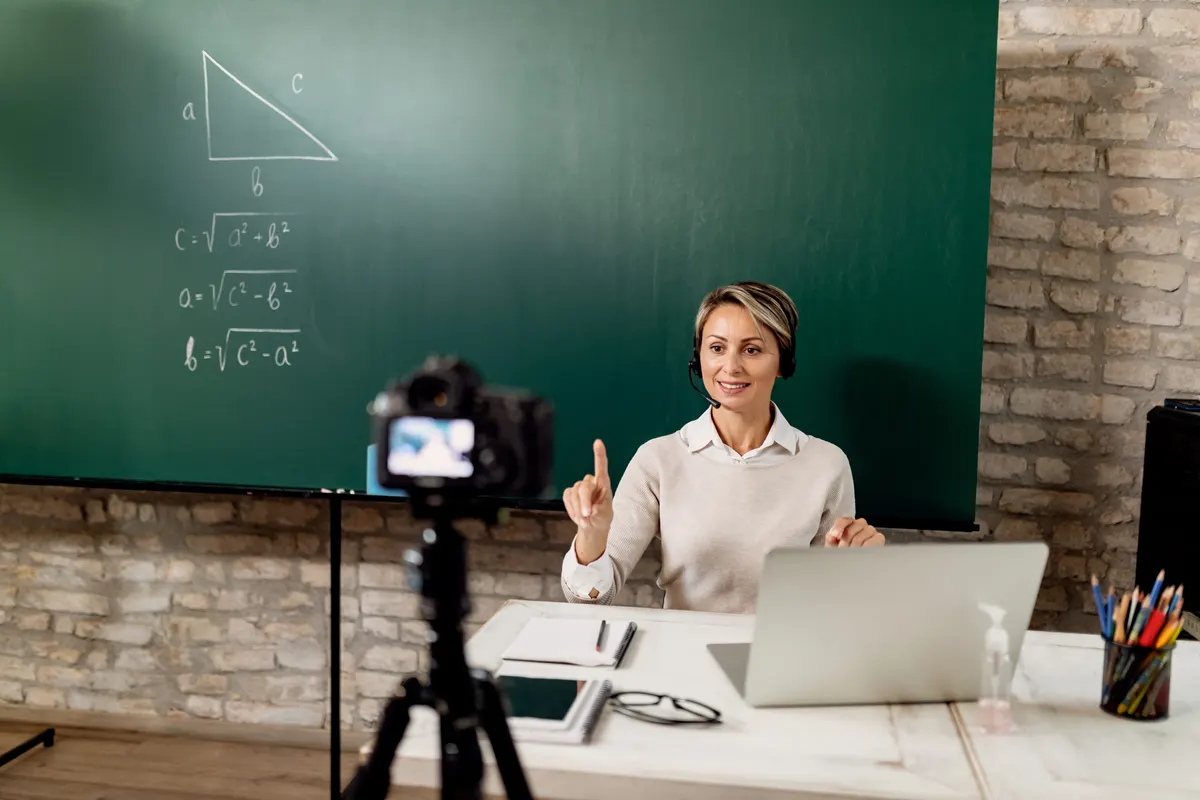
Filming video lessons on camera is quite simple. It is enough to set the camera on a tripod and film so the speaker is centered in the frame or slightly off to one side, leaving space. In editing, this space can be used to display text or other images.
Also shoot close-ups if you are demonstrating or performing an action on camera. If you are explaining a lesson at a board, do not rush to erase what is written on the board. After presenting important information, stop recording, move the camera closer to the board, and shoot a tighter frame without removing the camera from the tripod. Using the tripod handle, you can move the camera up, down, left, and right. This way you can shoot close-ups statically, that is, without movement, or do pan shots. In editing you can show the writing more closely. Then return the camera to its original position. Additional filming is needed to show important notes more closely that may not be visible in the wide shot, cover unsuccessful moments in the video, and diversify your course.
Close-up filming is necessary if you are demonstrating something on camera. Ask someone to film your actions in close-up. Also shoot objects in the frame with pans and individually.
You can shoot the speaker's hand gestures, clothing details such as a tie, badge, brooch, or scarf in close-up. Use these shots as transitions when editing video together. Then the cut will be softer and less noticeable. However, this is a television-style approach. For modern video it is not always necessary.
Video lessons can be filmed in autofocus mode so the camera automatically recognizes the speaker's face and stays sharp during movement in the frame.
Do test shoots, watch and listen to yourself. Always check the sound, because it can suddenly and unnoticed cut out, for example if a lavalier mic battery dies, there is interference, or background noise.
Additional filming will help diversify your course. For example, if your accounting courses include in-person master classes, film such events on video and then use this material in your online course. For example, when an expert says that your organization has been training professional accountants for many years, the information will not just be spoken — it will be shown visually.
Another example: you are recording an online yoga course. You can change the background — for instance, record some lessons in a studio and others outdoors. You can also separately film your students performing the same exercises with you.
Stage three — video editing
Editing lets you assemble filmed footage into a whole, clean it of unnecessary takes, create smooth transitions, display additional information on screen, and diversify content with title cards, text, graphics, and animation.
Before filming — and especially before editing — it is advisable to have a prepared script for each video lesson. That is, next to the text that was voiced and recorded on camera, outline what visual materials should accompany each piece of information in the video. This will save you considerable time and let you prepare the necessary materials for editing in advance.
Content design recommendations:
- It is advisable to open and close video lessons with animated title cards featuring your organization's logo and your course name. Show the lesson topic title after the opening card.
- When the speaker appears on camera, show subtitles with their name and position. Subtitles can also be repeated at the end of the lesson.
- If necessary, place a watermark — your organization's logo — throughout the video. This can help protect your content from plagiarism or use by third parties.
- Informational graphics and charts are appropriate when presenting relevant information.
- Additional images and video clips help diversify lessons and can serve as illustrative examples.
- Animated videos also improve video perception. You do not have to learn to create animated videos yourself — they can be purchased or downloaded for free from specialized platforms.
Video editing depends entirely on the specifics of your course. It is best to present information the way you visualize it when explaining. Your own internal sense will help create the best visual content.
Recording a video lesson through a webinar platform. This is one of the most budget-friendly ways to create video lessons. However, the quality of such recordings is usually not high.
A webinar is an online conference where instructors and students can see and communicate with each other, as well as chat in real time. Such lessons can be conducted using specialized programs such as Zoom, Skype, Google Meet, and other platforms.
On such platforms you can not only broadcast information, but also show learning materials in parallel: presentations, electronic documents, images, and share what is happening on your monitor screen.
Most importantly, you can record such online conferences. Recording lets those who could not attend listen to the lesson, and for you it is an opportunity not to repeat and explain the same thing to a large number of students. To record a video lesson in a webinar room, you do not have to invite students. While alone, you can speak and show materials as if you were teaching before an audience.
Screen recording + voice-over. To record screen video and audio, you will only need a microphone if you use a device without a built-in microphone. If you record from a laptop or Apple device, you do not need to buy a microphone — these devices have built-in cameras and microphones. This way you can show a presentation or, for example, work in Microsoft Excel and comment on your actions. This method is the most budget-friendly, fastest to produce, and simplest to implement.
We wish you success in creating your first online course and many grateful learners!

Войдите, чтобы оставить комментарий.
Пока нет комментариев.